Basic Usage
Learn the fundamental ways to create and customize tables with goTableView.
What You'll Learn
- Different methods to create tables
- Adding and managing data
- Customizing column widths
- Understanding the fluent API
Creating Tables
goTableView offers several ways to create tables, depending on your data source.
Method 1: Manual Construction
The most straightforward way - build your table piece by piece:
package main
import "github.com/mansoldof/goTableView"
func main() {
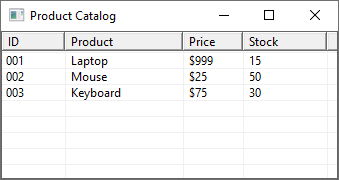
table := gotableview.New("Product Catalog")
table.Columns("ID", "Product", "Price", "Stock")
table.Row("001", "Laptop", "$999", "15")
table.Row("002", "Mouse", "$25", "50")
table.Row("003", "Keyboard", "$75", "30")
table.Show()
}
Method 2: Fluent API (Recommended)
Chain methods for cleaner, more readable code:
gotableview.New("Product Catalog").
    Columns("ID", "Product", "Price", "Stock").
    Row("001", "Laptop", "$999", "15").
    Row("002", "Mouse", "$25", "50").
    Row("003", "Keyboard", "$75", "30").
Show()Why Fluent API?
Chaining methods reduces code and makes the table structure visually clear. It's the recommended approach for most use cases.
Method 3: Batch Row Addition
When you have data in a slice:
products := [][]string{
    {"001", "Laptop", "$999", "15"},
    {"002", "Mouse", "$25", "50"},
    {"003", "Keyboard", "$75", "30"},
    {"004", "Monitor", "$299", "20"},
    {"005", "Webcam", "$59", "45"},
}

gotableview.New("Product Catalog").
    Columns("ID", "Product", "Price", "Stock").
    Rows(products).  // Add all rows at once
Show()Method 4: Helper Function
For quick one-liners:
columns := []string{"Name", "Score", "Grade"}
data := [][]string{
    {"Alice", "95", "A"},
    {"Bob", "87", "B"},
    {"Carol", "92", "A"},
}

gotableview.Show("Student Grades", columns, data)Working with Data
Adding Single Rows
Each row is a variadic string parameter:
table := gotableview.New("Sales Data")
table.Columns("Date", "Product", "Amount", "Revenue")

// Add rows one at a time
table.Row("2024-01-15", "Laptop", "3", "$2,997")
table.Row("2024-01-16", "Mouse", "12", "$300")
table.Row("2024-01-17", "Keyboard", "7", "$525")

table.Show()Adding Multiple Rows
Use Rows() to add a 2D slice:
salesData := [][]string{
    {"2024-01-15", "Laptop", "3", "$2,997"},
    {"2024-01-16", "Mouse", "12", "$300"},
    {"2024-01-17", "Keyboard", "7", "$525"},
}

gotableview.New("Sales Data").
    Columns("Date", "Product", "Amount", "Revenue").
    Rows(salesData).
Show()Mixing Row Methods
You can combine Row() and Rows():
baseData := [][]string{
    {"Alice", "Engineering", "85000"},
    {"Bob", "Sales", "65000"},
}

gotableview.New("Employee Salaries").
    Columns("Name", "Department", "Salary").
    Rows(baseData).                        // Add batch data
    Row("Carol", "Marketing", "70000").     // Add individual row
    Row("David", "Engineering", "90000").   // Add another row
Show()Customizing Columns
Column Widths
By default, columns are auto-sized equally. Set custom widths in pixels:
gotableview.New("Custom Widths").
    Columns("ID", "Name", "Description", "Price").
    ColumnWidths(50, 150, 300, 100).  // Pixels for each column
    Row("1", "Laptop", "High-performance laptop with 16GB RAM", "$999").
    Row("2", "Mouse", "Wireless ergonomic mouse", "$25").
Show()Column Count Match
The number of widths must match the number of columns. If they don't match, the widths are ignored.
Auto-Sizing (Default)
When you don't specify widths, columns share space equally:
// This table has 4 columns, each gets 1/4 of the window width
gotableview.New("Auto-sized Columns").
    Columns("Col1", "Col2", "Col3", "Col4").
    Row("A", "B", "C", "D").
Show()Data Formatting
All data must be strings. Here's how to format common types:
Numbers
import "fmt"

// Integers
age := 30
ageStr := fmt.Sprintf("%d", age)

// Floats
price := 99.99
priceStr := fmt.Sprintf("$%.2f", price)

gotableview.New("Formatted Numbers").
    Columns("Name", "Age", "Price").
    Row("Product A", ageStr, priceStr).
Show()Booleans
func boolToString(b bool) string {
    if b {
        return "Yes"
    }
    return "No"
}

inStock := true
onSale := false

gotableview.New("Product Status").
    Columns("Product", "In Stock", "On Sale").
    Row("Laptop", boolToString(inStock), boolToString(onSale)).
Show()Dates
import "time"

now := time.Now()
dateStr := now.Format("2006-01-02")
timeStr := now.Format("15:04:05")

gotableview.New("Timestamps").
    Columns("Event", "Date", "Time").
    Row("Order Placed", dateStr, timeStr).
Show()Practical Examples
Example 1: File Listing
package main
import (
"fmt"
"os"
"github.com/mansoldof/goTableView"
)
func main() {
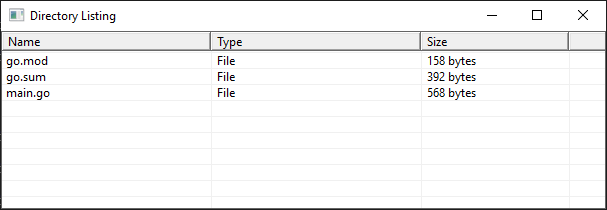
files, _ := os.ReadDir(".")
table := gotableview.New("Directory Listing")
table.Columns("Name", "Type", "Size")
for _, file := range files {
fileType := "File"
if file.IsDir() {
fileType = "Directory"
}
info, _ := file.Info()
size := fmt.Sprintf("%d bytes", info.Size())
table.Row(file.Name(), fileType, size)
}
table.Show()
}
Example 2: Configuration Viewer
package main

import (
    "github.com/mansoldof/goTableView"
)

func main() {
    config := map[string]string{
        "Server":   "localhost",
        "Port":     "8080",
        "Database": "myapp",
        "Debug":    "true",
        "Timeout":  "30s",
    }

    table := gotableview.New("Application Configuration")
    table.Columns("Setting", "Value")

    for key, value := range config {
        table.Row(key, value)
    }

    table.Show()
}Example 3: Simple Log Viewer
package main

import (
    "bufio"
    "os"
    "strings"
    "time"
    "github.com/mansoldof/goTableView"
)

func main() {
    file, _ := os.Open("app.log")
    defer file.Close()

    table := gotableview.New("Application Logs")
    table.Columns("Line #", "Timestamp", "Level", "Message")

    scanner := bufio.NewScanner(file)
    lineNum := 1

    for scanner.Scan() {
        line := scanner.Text()
        parts := strings.SplitN(line, " ", 3)

        if len(parts) >= 3 {
            table.Row(
                fmt.Sprintf("%d", lineNum),
                parts[0],
                parts[1],
                parts[2],
            )
        }
        lineNum++
    }

    table.Show()
}Common Patterns
Building Tables Dynamically
package main
import (
"fmt"
"github.com/mansoldof/goTableView"
)
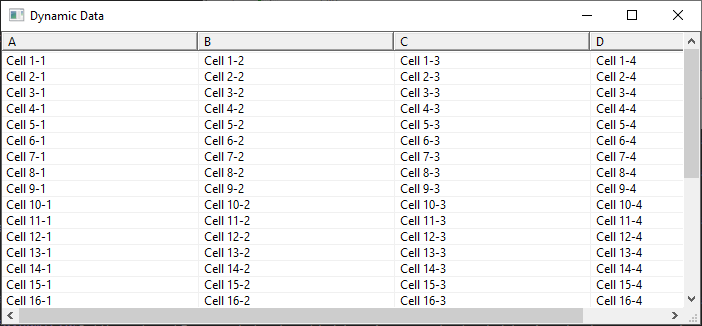
func createDynamicTable(title string, headers []string, rowCount int) {
table := gotableview.New(title)
table.Columns(headers...)
for i := 1; i <= rowCount; i++ {
row := make([]string, len(headers))
for j := range headers {
row[j] = fmt.Sprintf("Cell %d-%d", i, j+1)
}
table.Row(row...)
}
table.Show()
}
func main() {
// Usage
createDynamicTable("Dynamic Data", []string{"A", "B", "C", "D"}, 30)
}
Conditional Row Addition
table := gotableview.New("Filtered Results")
table.Columns("Name", "Score", "Status")

scores := map[string]int{
    "Alice": 95,
    "Bob":   67,
    "Carol": 88,
}

// Only show scores >= 70
for name, score := range scores {
    if score >= 70 {
        status := "Pass"
        table.Row(name, fmt.Sprintf("%d", score), status)
    }
}

table.Show()Best Practices
- Always call Show() last - It's a blocking call that displays the window
- Match column counts - Each row should have the same number of values as columns
- Use the fluent API - It's cleaner and more maintainable
- Format data as strings - Convert all types to strings before adding
- Consider pagination - For large datasets (100+ rows), use
NewPaginated()
What's Next?
- Learn about Struct Inference for automatic column detection
- Explore Pagination & Search for large datasets
- See more Examples
Performance Tip
For datasets with more than 100 rows, consider using PaginatedTable instead of the basic Table for better performance and user experience.